
Clara Champion
Mar 16, 2025
Mastering Product Photography Tips
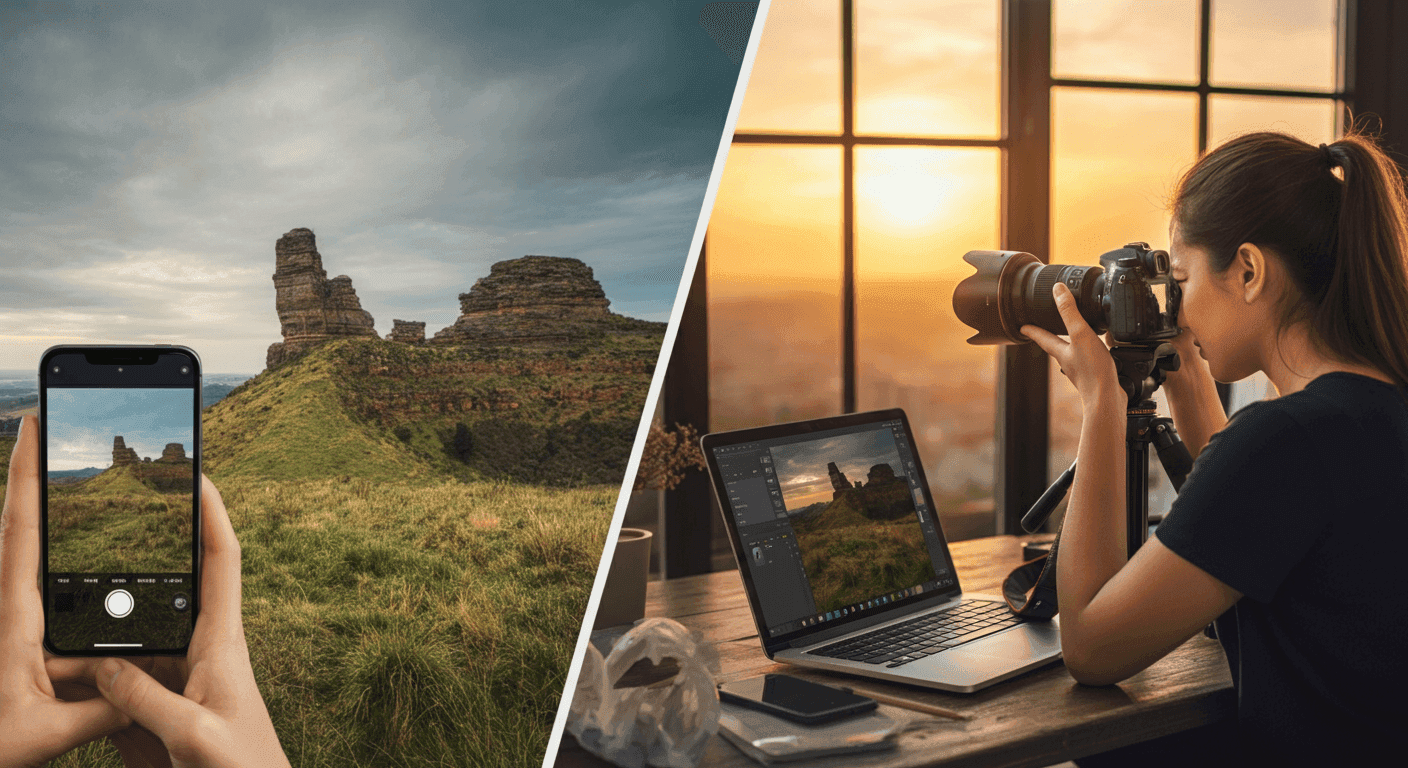
In the competitive world of e-commerce and marketing, product photography plays a pivotal role in shaping consumer perceptions and influencing buying decisions. High-quality product photos can be the difference between a sale and a missed opportunity. However, capturing the perfect product image requires more than just pointing and shooting; it involves understanding lighting, angles, focus, and the art of post-production. In this guide, we’ll explore key strategies for mastering product photography, ensuring your visuals stand out and captivate your audience.
Why Product Photography Matters
Product photography isn’t just about showcasing an item—it’s about conveying its value, functionality, and appeal in a way that entices customers to make a purchase. High-quality product images help customers envision themselves using the product, fostering a deeper connection with the brand. In fact, studies show that consumers are more likely to trust and buy from brands that display clear, professional-looking photos.
The importance of good product photography extends beyond just making a sale; it helps establish brand credibility and trust. Poorly lit, blurry, or unprofessional product images can create doubt about the quality of the product itself. Conversely, well-executed images show attention to detail, enhancing the perceived value of your product and encouraging potential customers to take the next step in their purchasing journey.
Effective product photography should focus on the key selling points of your product, highlighting its design, texture, and functionality. Whether you're selling clothing, gadgets, or furniture, your photos should answer the key questions a potential buyer might have about the product—its size, color, use, and quality.
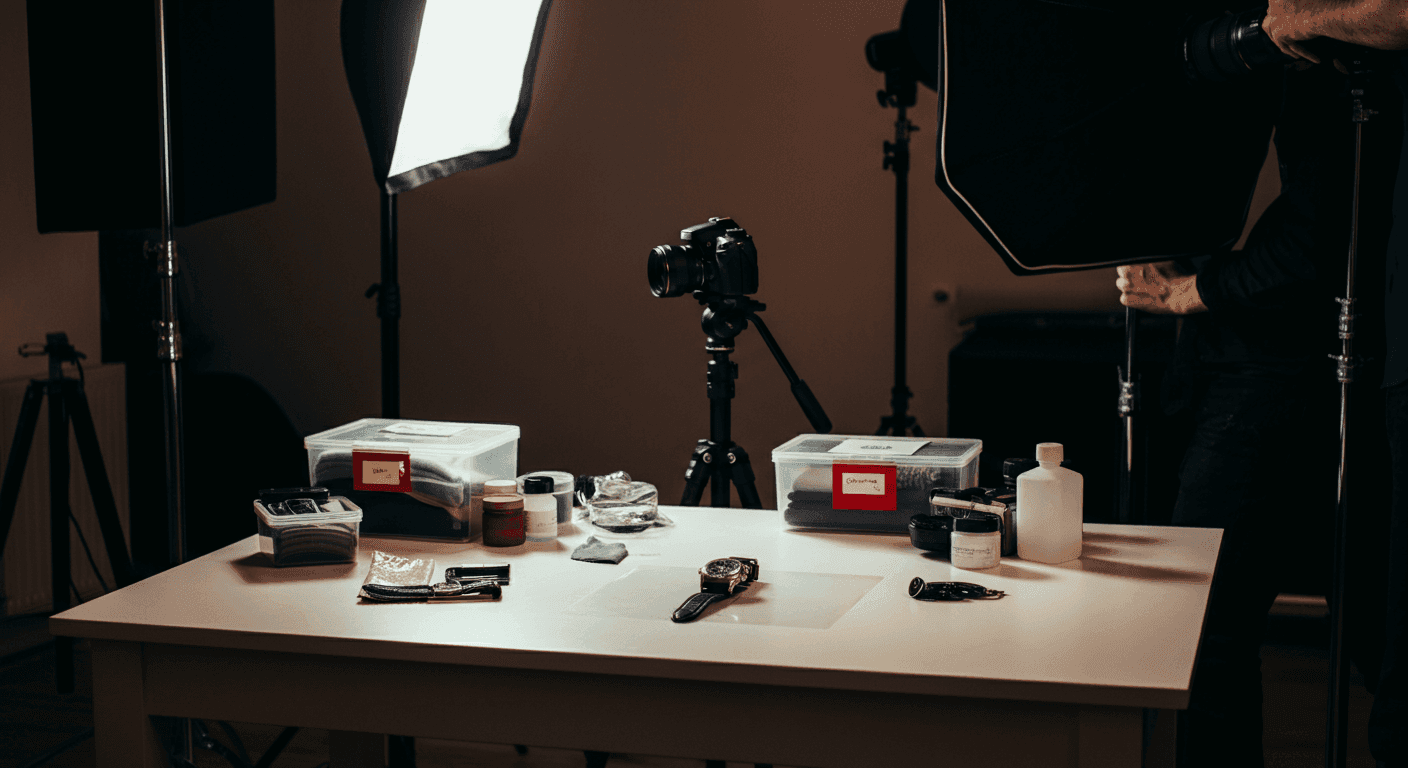
Lighting: The Key to Clarity
One of the most important elements in product photography is lighting. Proper lighting not only illuminates the product but also brings out its textures, details, and colors. Without the right lighting, even the best camera or lens won’t be able to capture the true essence of the product.
For most product photography, soft and diffused lighting is ideal. Harsh lighting can create undesirable shadows and highlights that distort the product’s appearance. Using softboxes or natural light sources allows for more even lighting and reduces the chances of unsightly shadows.
When using natural light, position your product near a large window, but be mindful of direct sunlight, which can cause overexposure. If possible, shoot on cloudy days for softer, diffused light. Alternatively, softboxes provide a more controlled lighting environment, especially for studio shoots.
Additionally, consider using diffusers to soften the light further and reduce harsh reflections on shiny or reflective surfaces. A diffuser is a simple tool that scatters light, creating a more even and flattering effect. If you’re shooting products with glossy or reflective surfaces, such as jewelry or electronics, a diffuser will help you avoid unwanted glares and reflections that can detract from the image’s clarity.
For a more dynamic look, experiment with backlighting or side lighting to create depth and texture. Backlighting, for instance, can highlight the contours of a product, adding a sense of drama and focus.
Editing for Perfection
Even the most well-composed and well-lit photographs often require post-production editing to reach their full potential. Editing can enhance the colors, sharpen details, and remove imperfections, transforming a good photo into a great one. The goal is not to overly alter the image but to refine it, ensuring it looks its best while remaining true to the product.
Popular editing tools like Adobe Lightroom and Photoshop allow you to fine-tune exposure, contrast, and white balance, ensuring your product images are clear, vibrant, and true to life. For instance, you can adjust the exposure if your photo is too dark or too bright, or use the clarity tool to sharpen fine details and textures that might have been lost in the original shot.
Color correction is another key aspect of product photography editing. You want your product’s colors to be accurate, as discrepancies can confuse customers and potentially lead to returns. If your product is a specific shade, make sure it’s represented accurately in your photos. For example, if you're photographing a dress that’s supposed to be emerald green, ensure the final image reflects that hue rather than a washed-out version.
One of the most valuable editing steps is removing distractions in the background. A clean, minimal background helps keep the focus on the product itself. If you’ve shot your product on a backdrop that’s too busy, consider using editing tools to blur or remove elements that could take away from the product’s visual impact. You can also use tools to adjust the image’s cropping and framing, ensuring that the product is the star of the shot.
It’s also essential to maintain consistency across all of your product photos. If you’re shooting a series of products for an online store, make sure they all follow the same style in terms of lighting, background, and angles. Consistency builds professionalism and helps customers navigate your online store more easily.
Additional Tips for Perfect Product Photography
Focus on Details: Don’t just take wide shots of the product—close-ups are crucial, especially for items with intricate details, like jewelry, watches, or fabric textures. Capture the finer aspects of the product that set it apart from the competition.
Use a Tripod: Stability is key when photographing products, especially in low light or when using a slower shutter speed. A tripod ensures your camera remains steady, avoiding blurry images caused by hand movement.
Highlight Different Angles: Provide customers with multiple angles of the product to give them a complete view. For example, show the front, back, side, and top of a product, or highlight specific features like zippers, buttons, or logos.
Avoid Overcrowding the Frame: Keep the focus on the product. While props can help set a scene, be careful not to overcrowd the frame with unnecessary items that could detract from the product itself.
Shoot in High Resolution: Always shoot in high resolution so that you can crop, zoom, and resize images without losing quality. High-quality images are essential for e-commerce platforms, where customers need to zoom in to inspect details.
Conclusion
Mastering product photography takes practice, but with the right tools and techniques, you can elevate your brand’s visual appeal.